Support

Customer Help and Tutorials

Your Partner for Smarter Farm Management

Discover clear guidance, smarter solutions, practical tips, and dedicated support for your HydroNeo Smarter Farm Management System. Whether you’re setting up, testing features, optimizing farm performance, or troubleshooting, our friendly team ensures your farming success—every step of the way.

Our Smarter Farm Management System is designed to enhance your farm operations, ensure sustainability, and improve financial performance. Follow these easy steps to set up your HydroNeo system and begin optimizing your farm’s productivity.


Watch Our Video:

💧 Each Mini Controller is designed to operate a single pond unit for easy risk management and precise control.

💧 Mount the Mini Controller on a pole or wall near the pond for easy access to sensors.

💧 Ensure the location has stable Wi-Fi or mobile network coverage for constant internet connectivity.

💧 Placing it at an elevated position usually for better reception and sending of data.

💧 Avoid installing it inside metal enclosures, under a metal roof, or near heavy electrical wiring, as this can interfere with signal strength.

💧 For durability and protection, install the Mini Controller in a shaded area, away from direct sunlight and rain. 


You can mount the HydroNeo Mini Controller in two simple ways: 

💧 Pole Mount: Secure it using the included pole mount bracket and cable ties. 

💧 Wall Mount: Attach it securely to a wall using screws.


Install the antennas by matching the color-coded labels. 

💧 Left Antenna (GSM) → Left Port 

💧 Right Antenna (Wi-Fi) → Right Port 

Plug in the sensors to their designated ports and ensure tight connections to prevent water leakage. 


Connect the power supply to your Mini Controller. 

💧 Step 1: Plug the power cable into the Mini Controller. 

💧 Step 2: Connect the power supply to electricity and ensure proper grounding to avoid electrical issues. 

💧 Step 3: Turn it on by pressing the power button for 8 seconds. The blue light will indicate charging status. 


💧 Download the App: Search for “HydroNeo” in the App Store or Google Play. 

💧 Sign In: Log in by using username provided by HydroNeo. 

💧 Set Production Cycle: Go to the ‘Total Ponds’ tab, select your pond, and enter the start date and shrimp size. Click ‘Start Cycle’ to begin. 


💧 Dissolved Oxygen & Temperature Sensor:  

Calibration 

👉 The Optical Dissolved Oxygen sensor can directly calibrate with ambient air. 

👉 Remove the sensor from the water, wipe the sensor head with soft cloth to clean, and gently dry the entire surface with a clean, soft cloth. 

👉 Place or hang the sensor in a shaded area, avoiding direct sunlight. Do not place it in any container.  

👉 Allow the sensor to rest for 3-5 minutes to adjust to the ambient temperature. 

👉 Avoid holding the sensor with your hands, as the heat from your body may affect the accuracy of the measurements.  

👉 Perform calibration (Follow the instructions on the display or in the App).  

👉 If the value seems abnormal, check the salinity factor as well. This could cause a sensor reading error value. 

👉 After the calibration should show 100% DO saturation (a +/- <5% variation is acceptable). 


Installation 

👉 Choose a location with flowing water and avoid still areas near pond edges. Stay at least 2-3 meters from aerators or equipment to ensure accurate water quality measurements.  

👉 Immerse the sensor at least 50 centimeters deep to avoid surface abnormalities, like elevated temperatures, and to prevent false readings from sediment at the pond’s bottom. 

👉 HydroNeo recommends installing sensors at the bridge to the auto feeder to ensure regular water circulation and easy maintenance access. 

👉 Make sure sensors are securely attached (e.g., using a rope) and not left dangling in the water. Ensure cable connectors are tightly sealed to prevent water leaks. 


💧 pH Sensor:  

Calibration 

👉 Remove the sensor from the water, clean the sensor head with clean water, and gently dry the entire surface with a clean, soft cloth. 

👉 The calibration of the pH sensor always needs a 2-point calibration. This requires buffer solutions with pH7 and pH10. 

👉 Perform calibration by following the instructions on the display or in the App. 

👉 The used solutions should be disposed of after each calibration.  

👉 Calibrate the sensor once a month or after cleaning the sensor if you notice more scratches on the sensor’s glass from the last calibration. 


Installation 
👉 Choose a location with flowing water and avoid still areas near pond edges. Stay at least 2-3 meters from aerators or equipment to ensure accurate water quality measurements.  

👉 Immerse the sensor at least 50 centimetres deep to avoid surface abnormalities, like elevated temperatures, and to prevent false readings from sediment at the pond’s bottom. 

👉 HydroNeo recommends installing sensors at the bridge to the auto feeder to ensure regular water circulation and easy maintenance access.

👉 Make sure the sensors are securely attached and not left dangling in the water (e.g., attach the sensors to a rope or stick). Ensure cable connectors are tightly sealed to prevent water leaks. 


Maintenance

💧 Coming Soon


💧 Coming Soon


💧 Coming Soon


💧 Coming Soon

💧 Coming Soon

💧 Coming Soon

💧 Coming Soon

💧 Coming Soon

💧 Coming Soon

💧 Coming Soon

💧 Coming Soon

💧 Coming Soon

💧 Coming Soon

💧 Coming Soon

💧 Coming Soon

💧 Coming Soon

Get in Touch

Let's do this together!

Let's do this together!
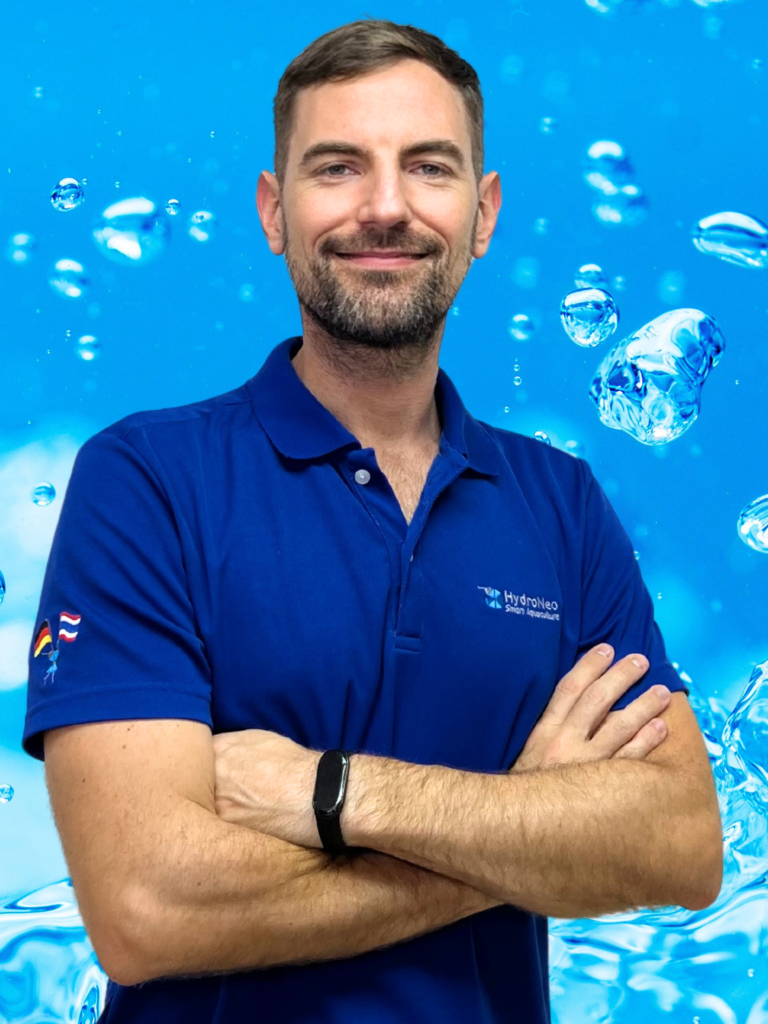
HydroNeo CEO and Founder Fabian Reusch (Water Background).png

Water drives life; HydroNeo’s smarter solutions drive its future.
— Fabian Reusch —

We’d love to hear more from you! Please complete the form below:

After sending the message, please expect us to get back to you within 24 hours.